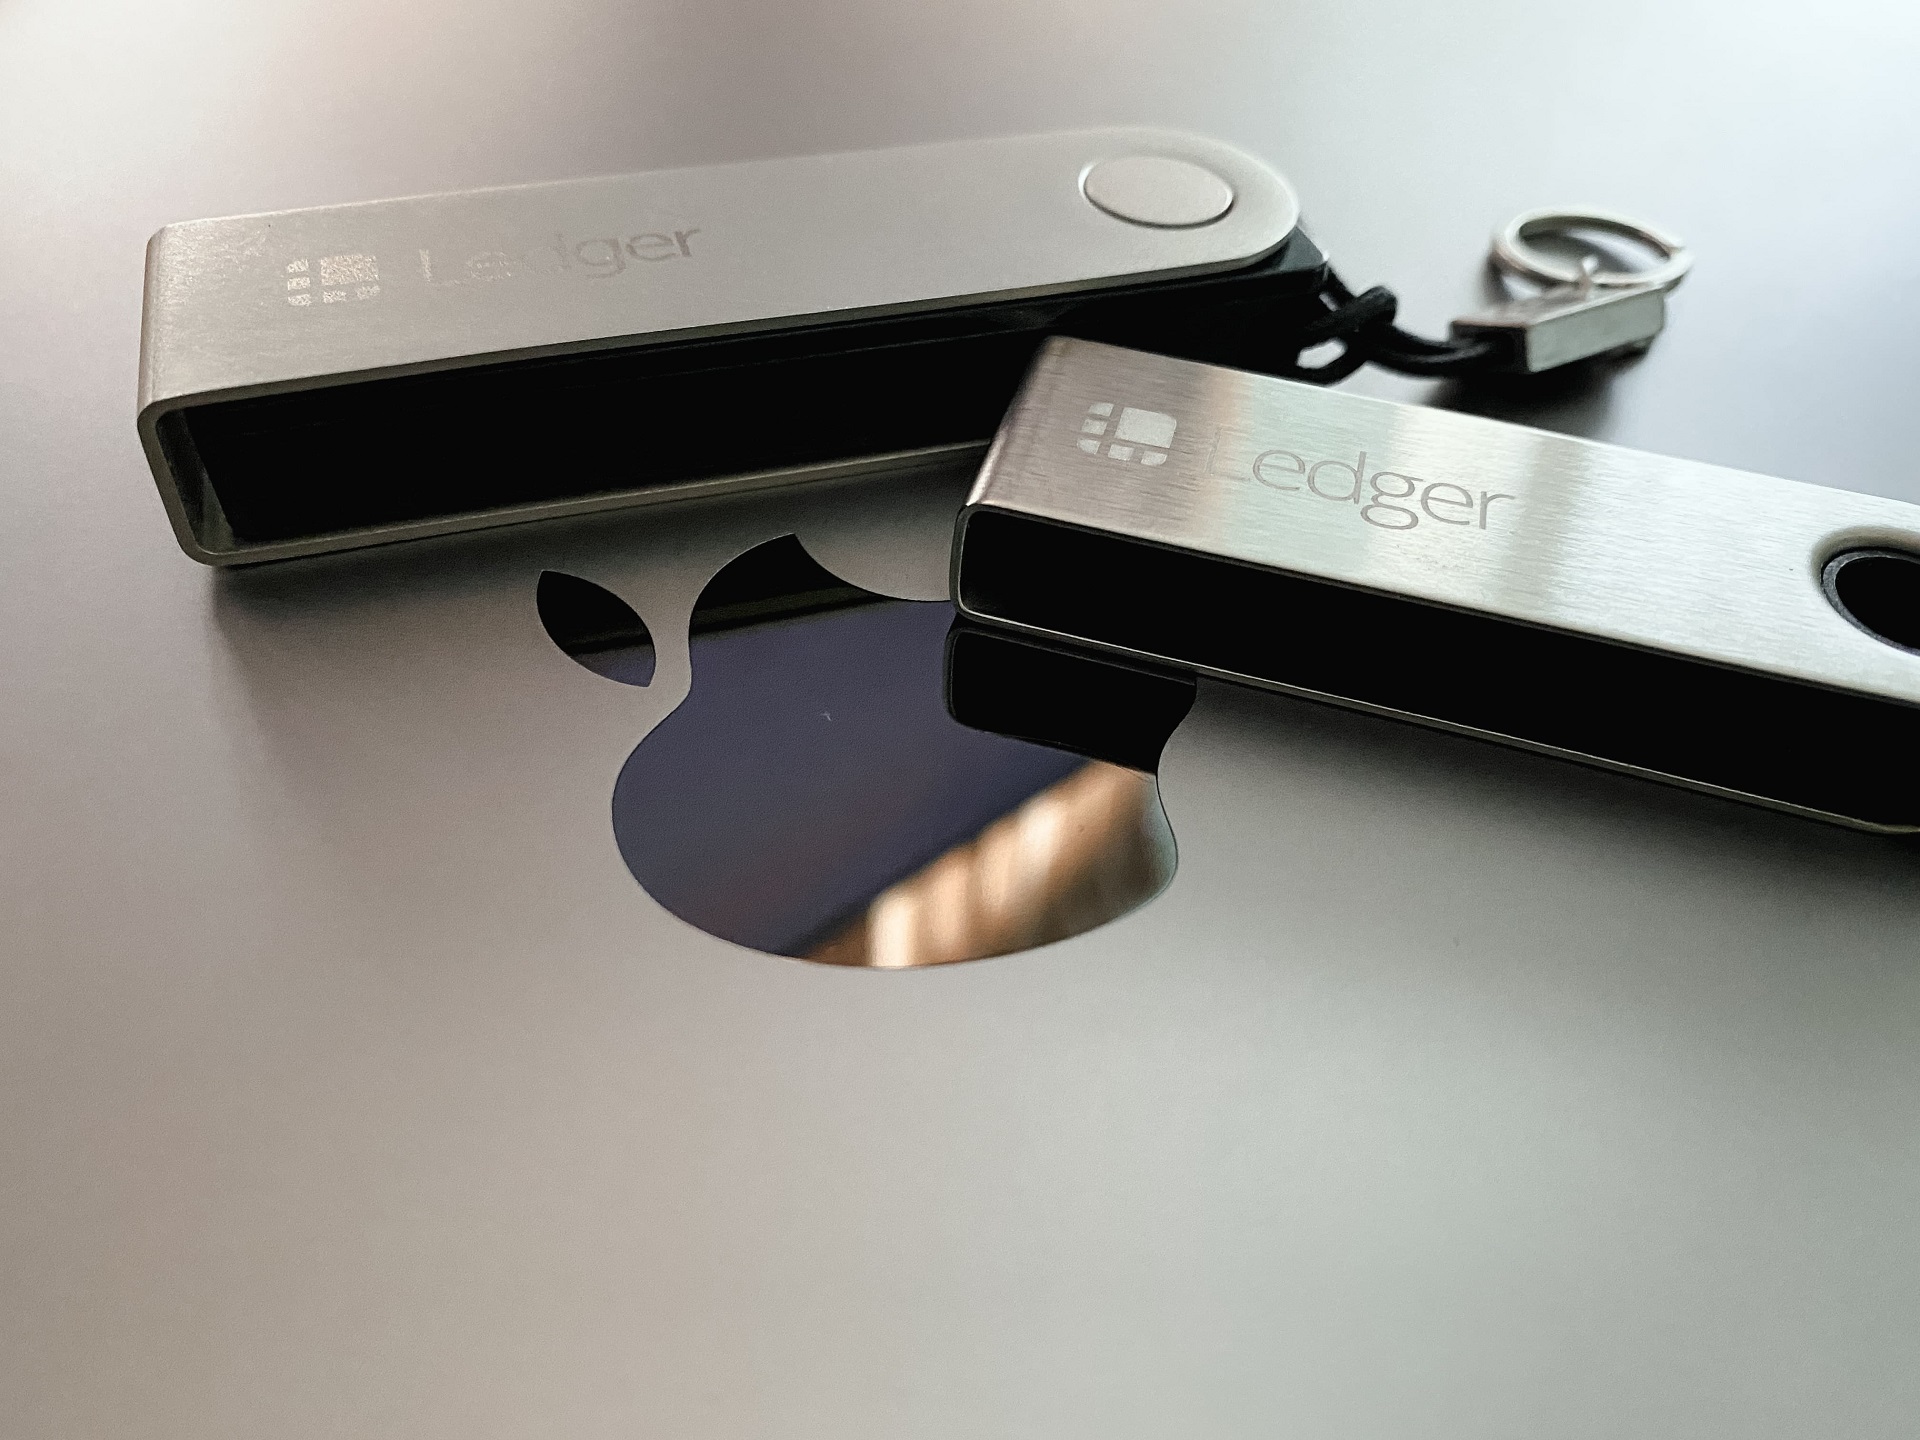
If you’re encountering the “Device Not Found” error while connecting your hardware wallet on MacOS, the issue might be related to the system blocking access to necessary files or drivers due to security settings. This is a common problem, especially when the system considers the files untrusted or unidentified.
Possible Causes
- File Access Blocked by MacOS: For security reasons, MacOS may automatically block access to files or drivers that are essential for the correct operation of your connected device. This usually happens when the system deems the files as potentially unsafe, even though they are necessary for the device to work properly.
- USB Connection Issues: If you’re using non-standard ports or adapters (such as USB-C), MacOS may fail to properly detect the connected device, resulting in it not being recognized.
- Software Configuration or Glitches: Sometimes, the issue arises due to software bugs where the system cannot correctly sync the device, even though it’s physically connected.
Solution
To fix the error, you can run a simple terminal command that will provide access to the necessary files that were previously blocked by MacOS, allowing everything to function correctly. Here’s what you need to do:
- Open Terminal:
- Go to Finder and navigate to Applications.Open the Utilities folder and click on Terminal to open it.
- Run the Command: In the terminal window that opens, paste the following command:
- Press Enter after pasting the command.
- Provide Your Password: After pressing Enter, you may be asked to enter your Mac’s password to allow the command to execute. Type in your password (it won’t be visible as you type) and press Enter again.
Why This Command Works:
- Providing Access to Blocked Files: The command will provide access to files that MacOS has blocked due to security settings. These files are essential for the correct functioning of the connected device.
- Unpacking and Installing Files: After the files are downloaded, they will be automatically unpacked and installed in the appropriate system directories. This step resolves the issue by allowing the system to recognize and properly connect the device.
- Granting Access: MacOS may restrict access to certain files or processes that are crucial for device connection. This command grants the necessary access, ensuring that everything will function correctly once completed.
If your hardware wallet isn’t being recognized on MacOS, it’s likely due to file access being blocked by the system. By running the provided command, you can grant access to the required files, and the device will be recognized and connected properly. This method effectively solves the issue in most cases, ensuring everything works as it should.


