
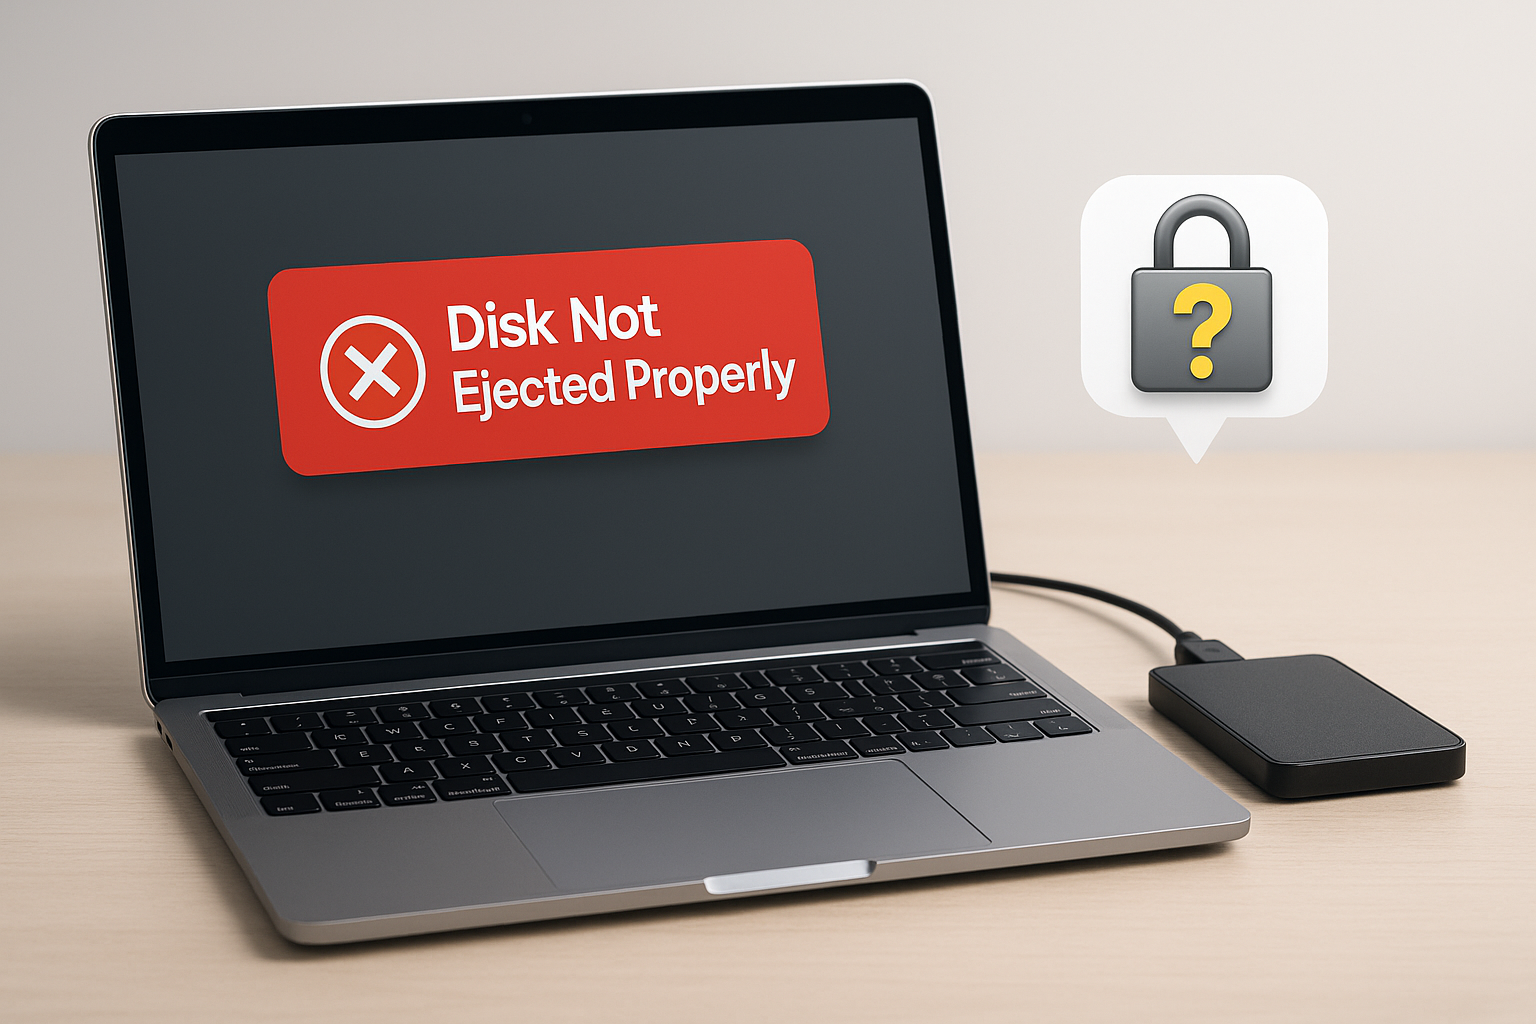
Sometimes after encrypting an external hard drive, your Mac stops recognizing it — it doesn’t show up in Finder, and macOS acts like it’s not even plugged in. This can happen due to how the system handles encrypted volumes at the hardware or permissions level.
Fortunately, you don’t need to reformat or use any third-party apps. A single Terminal command can force macOS to re-detect and try mounting the disk manually.
Here’s what you need to do:
- Open Terminal:
- Go to Finder → Applications → Utilities → Terminal.
- Or simply press Cmd + Space, type “Terminal,” and press Enter.
- Enter the following command:
- Authorize the action: After running the command, your system may prompt you to enter your administrator password. Type it in (nothing will appear on the screen) and press Enter.
This command finds the identifier of your external drive and tells macOS to mount it — even if it was encrypted or hidden. If it requires a password, you’ll be prompted.
After running it, the drive should appear in Finder and be ready to use.
Tip:
Make sure the cable is working, and don’t unplug the drive while it’s still mounting.
With this one command, you can safely reconnect an encrypted external disk — without reformatting or rebooting your Mac.